Home » CSS » How To Use Multiple Background Images Using CSS?
If you have ever used Photoshop or any image editing software, you must have used different layers of the image to create a composite background. It’s fun, right? How about if you do this without using Photoshop, just using a browser? I am not talking about layering images on top of one another. Here I’ll show you how to add multiple images within the same element.
The CSS background property can use more than one image with all the shorthand properties, as well as using consecutive properties separated by a comma (,). This opens up the possibility of using CSS multiple background images, and creating & manipulating composite images. The best way to do it is by using PNG or transparent images or using CSS blend modes.
We’ll use both concepts to understand the behavior with transparent images and overlay modes.
Multiple Background Images Syntax:
Consequent:
selector{
background-image: image1,image2,image3,image4;
background-size: size1,size2,size3,size4;
background-position:position1, position2 , position3, position4;
}
- image: valid background url
- background-size: accepts valid length, cover, contain
- background-position: accepts a valid background position
Shorthand:
selector{background: properties1 , properties2, properties3};
- Properties: all valid background consequent properties.
CSS Multiple Background Images using transparent images:
This is possibly the simplest way to compose an image. You can use any of the above methods to specify images at the given position and size. You can also manipulate images using other background properties.
Observe the following example:
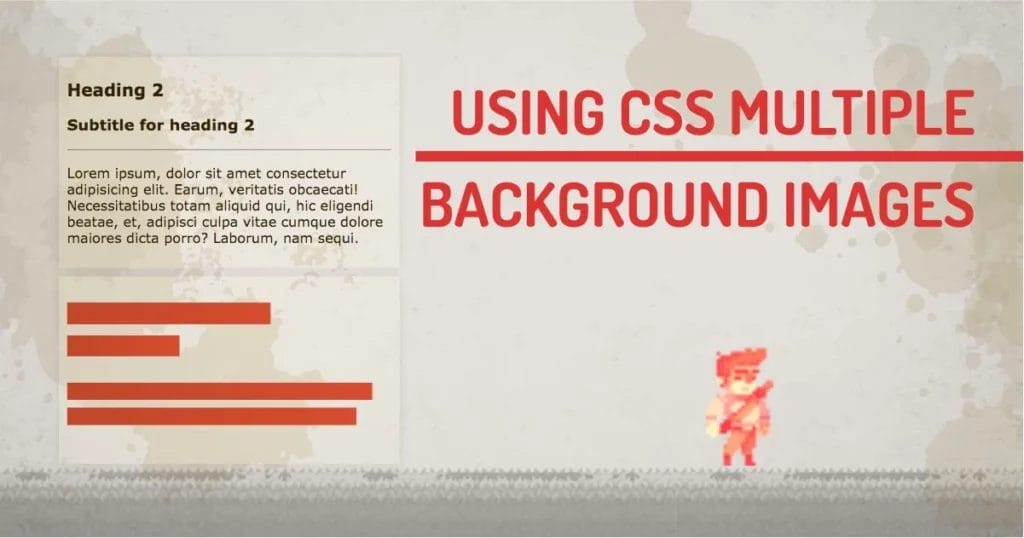
This looks like a crazy animation, but the entire scene has only one element and uses multiple transparent background images. The way it works is that you can start adding images using a comma (,), and the first image will have the highest depth. I have created this scene by using multiple transparent image assets.
My example uses the following code:
.stage{
background-color: aquamarine;
background-image: url(images/run.gif),url(images/platform.png),url(images/plx-2.png),url(images/plx-3.png),url(images/plx-4.png);
background-size:5%,auto 20%,150%,130%,120%;
background-repeat:no-repeat,repeat-x,repeat-x,repeat-x,repeat-x;
background-position: 40% 80%,100% 100%, left center;
}
In this example, the layering works because it’s transparent. But what if the layers are not transparent? In that case, CSS blend modes take control over non-transparent images.
CSS Multiple Background Images using non-transparent images:
When multiple images require composite output using regular images, we use CSS blending. This won’t work for every case. But blending mode works great with high contrast images. I have an in-depth article about various blending modes. Let’s observe the following example:
This example uses 2 images. Both images are JPG images. So when we use regular images multiple times, only the first one appears. In the above example, I have used soft-light blend mode to overlay dark images on top of other images.
The code looks like this:
@keyframes animate {
0%{background-image: url(images/watching.jpg),url(images/1.jpg);}
20%{background-image: url(images/watching.jpg),url(images/2.jpg);}
40%{background-image: url(images/watching.jpg),url(images/3.jpg);}
60%{background-image: url(images/watching.jpg),url(images/4.jpg);}
80%{background-image: url(images/watching.jpg),url(images/5.jpg);}
100%{background-image: url(images/watching.jpg),url(images/1.jpg);}
}
.stage{
animation: animate 20s infinite linear forwards;
background-blend-mode: soft-light;
background-image: url(images/watching.jpg),url(images/1.jpg);
background-size:auto 100%,cover;
background-repeat:no-repeat,repeat-x;
background-position: 100% 100%,50% 50%;
}
I have used CSS animations to look through some other images using multiple images, and yes. You can animate all the background properties as needed. This can be used to create stunning moving backgrounds.
CSS Multiple Background Images using gradient:
Using external images is not the only way to use background images. You can use CSS gradients to make one on the fly. This Gradient can be overlaid on other images and uses the same features as discussed above.
A more practical example of CSS background images is using a skeleton loader. A skeleton loader is an image you see on most social media sites. The blocky elements that you see when your profile is loading… That’s the skeleton loader. I have used multiple backgrounds in my CSS-only parallax effect.
It’s a combination of gradients in a nutshell. Let’s do the demo and check what’s inside.
The skeletal structure is made out of basic shapes. I have created a loading class that enables one image overlay on top of the empty loading block. This method could be useful in frontend technologies like React for lazy loading content on scroll.
@keyframes gradient {
0%{
background-size:0% 26px,0% 24px,0% 20px,0% 20px,100% 100%;
}
20%{
background-size:60% 26px,0% 24px,0% 20px,0% 20px,100% 100%;
}
40%{
background-size:60% 26px,33% 24px,0% 20px,0% 20px,100% 100%;
}
60%{
background-size:60% 26px,33% 24px,90% 20px,0% 20px,100% 100%;
}
80%{
background-size:60% 26px,33% 24px,90% 20px,85% 20px,100% 100%;
}
}
.loading{position: relative; min-height: 200px;}
.loading::before{
content:''; position: absolute;
top:0; left: 0; width: 100%; height: 100%;
background-color:#fff;
background:
linear-gradient(90deg,#ccc,#eee) no-repeat 10px 30px/60% 26px,
linear-gradient(90deg,#ccc,#eee) no-repeat 10px 70px/33% 24px,
linear-gradient(90deg,#ccc,#eee) no-repeat 10px 125px/90% 20px,
linear-gradient(90deg,#ccc,#eee) no-repeat 10px 154px/85% 20px,
linear-gradient(90deg,#fff,#fff) no-repeat 0 0 /100% 100%;
animation: gradient 1500ms infinite both;
}
We’re animating the background-position of the created gradient to give it a loading effect.
Mixing Gradients and Images Using CSS
When you have a big website and want to stay consistent with your images, you have to use the same Photoshop template to create your featured images over and over again. Well, this Photoshop workflow could easily be converted to a CSS-based overlay. CSS gradients are sufficient to add a tinge of branding to the images.
Let’s use the same example above with some images. And CSS overlays to see the difference.
Observe the images in the following example. You’d see branded images and regular images. Imagin the efforts you can save by creating a CSS filter using multiple background images. This could save a ton of work. I used a simple cover class to add branding to the image.
.cover{
width:100%; height:0; padding-top:50%;
background: var(--img) no-repeat center center/cover ,linear-gradient(0,#e91e63,#673ab7);
background-blend-mode: screen;
animation: cover infinite 1s steps(2);
}
The above example uses CSS variables to put an image as a background using inline style. This allows us to manipulate images using CSS properties.
Our technical experts can help fix any issue you are having with your website, regardless of its complexity.
Browser compatibility of CSS Multiple Background Images:
It’s 2021 already. It’s about fully supported property across mobile and desktop browsers. So it’s safe to use it.
Responsiveness of CSS Multiple Background Images:
Since it supports all the background properties, we can use % or viewport units to define the position and dimension of the image. It will make it responsive. [more or less]
How to animate Multiple Background Images:
CSS animation works the same as a single background image. With the @keyframes definition, you can define what property of the image should be changed during the animation. We can control each property separated by a comma (,).
Background Images vs img tag Performance:
SEO: The img tags are part of the DOM, they are crawled by Google, and are indexable. Background images, however, are just designs.
Accessibility: The img tags are the real things and are accessible because of the ability to add title and alt tags. Designs will face accessibility issues.
Manipulation: The img tags don’t have much control over their display. Background images can use features like background-attachment and background-position as well as background-size.
Speed: Since images are DOM elements, even if there is the same image is used multiple times, it will make a new request each time an image is encountered in the document. Background images are loaded a single time.
How to Deal With Multiple Background Images: CSS Positioning:
The easiest method to manipulate multiple background image positioning use the consecutive background-position property. You can specify the position for the background image separated by a comma (,).
.background{
background-position: center top, center center, 100% 100%;
}
How to manipulate multiple background images with JavaScript:
Using any background property is the same as using the singular property of the background.
 document.getElementById("background-element").style.backgroundPosition = 'center top, center center, 100% 100%';
// sets background position for 3 different images.
JS properties for each CSS background property that can be manipulated with JavaScript.
- background-color: backgroundColor
- background-image: backgroundImage
- background-repeat: backgroundRepeat
- background-attachment: backgroundAttachment
- background-position: backgroundPosition
- background-size: backgroundSize
- background-origin: backgroundOrigin
- background-clip: backgroundClip
How Good of a result can I get using Multiple Background Images?
Well, this feature has been present in CSS for a long time. This is an underutilized feature among CSS designers. This could solve many responsive image problems. There are many ways to do the same thing in CSS design, so it’s good to know the features. I use it a lot to composite a responsive background image or banner. You can try this feature for your next project. It’s fun to have additional control over your background images.


